Table of Content
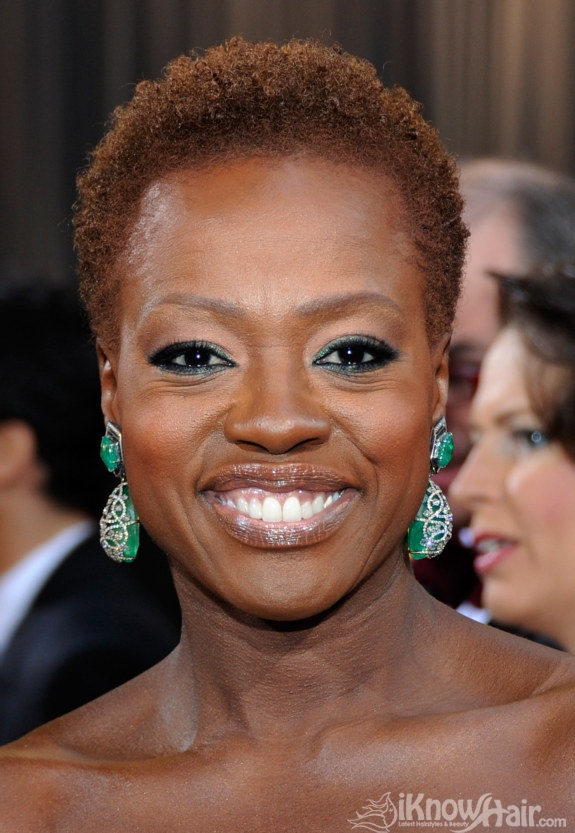
Equally important as the color selection is choosing where your natural color and dyed color will meet. The lower down your hair the two meet, the safer your look will be. If the two colors meet too high, you run the risk of looking like you have grown-out roots, rather than a beautiful ombre. Look closely, and you’ll spot a hint of amethyst tones in the tips of this gray ombre mane. That blink-and-you’ll-miss-it dose of purple comes courtesy of Color Fresh CREATE in Pure Violet.
Set the faucet to a warm temperature and wash out the bleach beneath the running water. Keep your gloves on as you rinse your locks, using your fingers to get rid of any extra bleach clumps. Continue rinsing until your hair is completely bleach-free. Someone with brown hair will probably need to keep the bleach product in for longer than an individual with blonde hair would.
The ultimate practice? Maintaining Ombre hair!
Tease up the hair around the area where you want the ombre to begin. Teasing your hair around this area will help prevent a stark line or line of demarcation where you applied the bleach. Always mix the bleach in a well-ventilated area to avoid inhaling too much of the fumes. The easiest and cheapest at home bleach method is to use equal parts of 20 volume peroxide and powdered bleach. Mix 2oz each of the 20 volume peroxide and powder until they are completely combined into a creamy mixture.
Swept in micro-fine strokes, these ombre babylights feature olive-gray tones that segue from smoky at the roots to cool and metallic through the ends. Some believe ombre does more harm than good because some shades may require bleaching, which can cause a dry scalp, breakage, and split ends. This is the step where you will dye your hair a darker color, so wear something that you don’t mind getting stained. Some people prefer not to wear anything, but if you feel more comfortable, it won’t hurt. Ensure the area around your face and neck is covered because the dye can seep through your shirt and ruin them. For this process, I wore two old t-shirts – one on my torso and one around my neck.
Step 7: Wash the Dye Out
In addition, you should use natural conditioner for a healthy hair. Remember to avoid peppermint shampoos, because peppermint is easy to lose color. How to ombre hair and benefits of ombre hair color, its time to learn about the lifespan of ombre hairs.
One way is to use multiple colors of hair dye, and gradually blend them together. Another way is to use a hair painting technique to create a gradual color fade. There is no set answer to how far down ombre should start. It can be done as low as the roots or as high as the mid-lengths or ends of the hair.
Step 6: Leave to Develop
Repeat this for all hair sections and after the hair processes, wash the bleach out with water and shampoo. First, you’ll need to decide what color you’d like your hair to be. A few shades lighter than your base color can be used in ombre to create a subtle change. A brunette can also attempt blonde or a bold pink shade.
Apply your medium shade through the full width of the hair, starting where the root shadow ends. Sweep it down to where you want the lighter shade to begin. Repeat through the lower section of hair, applying the lighter shade from where the medium shade ends, right down to the tips. Once it’s developed and rinsed, you’ll have the dreamiest gray ombre. One way to achieve this ombre effect is by starting with a dark base and gradually lightening up the colors as they get higher. Don’t make your transition too fast or dramatic when applying the dye.
You can also benefit from using color-proof hair products. Last but not least, you should not style the hair as often with hot tools as they can further damage the hair. Have you seen girls who have gorgeous ombre hairs and did you wonder how did they get to have it? Probably a specialized hair salon would easily do it for you, but what if you are tight on budget? You can learn and make ombre hair at home and it isn’t hard at all.
If you’re looking to try out the ombré hair style, bleaching your hair is the perfect way to do it. By following these simple steps, you can achieve the perfect ombré look in no time. If you’re looking to bleach your hair ombré, there are a few things you need to keep in mind. If you have dark hair, you’ll want to go with a light blonde shade. If you have light hair, you can experiment with a variety of different colors. When it comes to hair color, there are a lot of options to choose from.
Beginning with the ends and moving up to the desired fade line, add bleach. Work so that you have all the strands equally covered with the lightning product rather than working quickly or in huge portions. Second, it’s important to choose the right bleaching kit. There are a variety of different kits available on the market, so it’s important to choose one that is right for your hair type.
Next, you’ll need to choose the right shade of each color. The lighter color should be a few shades lighter than your natural hair color, and the darker color should be a few shades darker. If the hair is light, ombre can be done starting at the roots.
It is essential to realize that transitioning from dark colors to lighter ones will require more hair paint and can result in color fading faster. For example, black hair will need two packages of dye for full coverage. If your hair is light blond, only one box will be required for the full range. Pay close attention to your ends because these will show through if you try to achieve a darker color than that is already on your backs. Repeat this step until you have fully saturated your hair with dye.
With your hair being a tad fried from the chemical dye, it may be best to allow it to air-dry and avoid any hot tools. However, if you’re like most of us you’ll want to blow dry your hair right away and get it looking back to normal. Doing this also allows you to determine if you’ve gotten the color you want, or if you need to do some touching up post-dye. Follow the box instructions to be determine how long you should leave the dye in your hair. Wait the recommended amount of time for your hair dye to set.
Once you have chosen the right dye, it’s important to prepare your hair for the dye. Start by washing your hair with a clarifying shampoo to remove any residue that may prevent the dye from taking. Then, use a deep conditioning treatment to help protect your hair from the dye. Time to style and admire your gorgeous ombré hair that you did all by yourself at home.
Step 2 is a Toning Glaze that will help to improve the condition of your hair and give it a great overall shine. As we mentioned, ombré hair requires bleach which can make your strands more susceptible to hair breakage and split ends. While ombré hair is less maintenance than other hair color techniques, that doesn’t mean it’s free of upkeep. Here are a couple of things to keep in mind before you ombré your hair at home.


No comments:
Post a Comment